|


|
The Story
We decided to replace the trailer and BAHA with a single vehicle (actually my wife said if you sell the trailer you gotta buy something we can sleep in if the house burns down or something). So, in the fall of 2009 we purchased a 1971 VW bus. I wanted a pre-75 to avoid the smog issues and after a little research decided on a 1971 because it was the last year with a standard upright Type 1 engine and the first year with disc brakes. The pics show some of the progress.
|
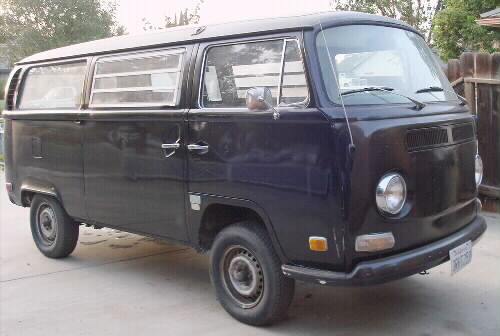 Here is the outside.
|
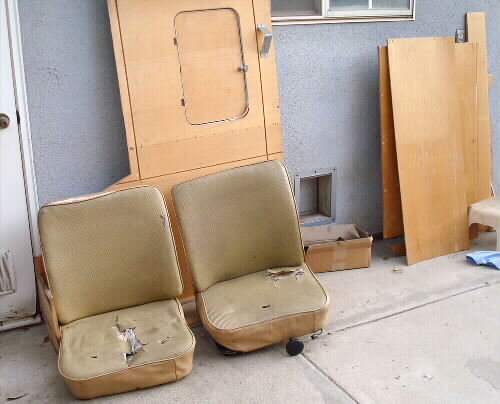 Here is some of the "stuff" I took out.
|
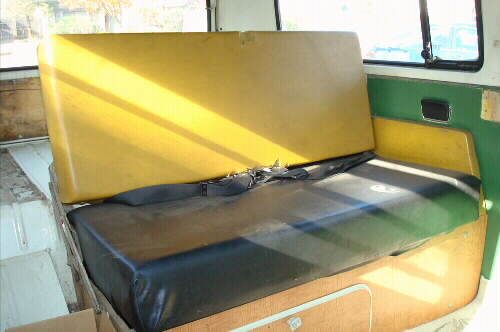 The original fold-down back seat.
|
 The original center area.
|
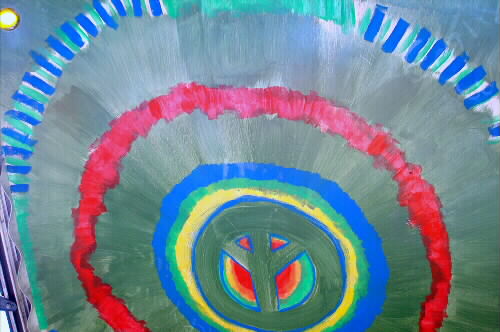 The orignial headliner in the center section has a big peace symbol painted on it. My wife is promoting leaving it.
|
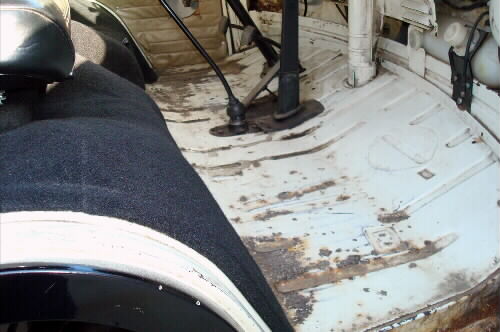 The original floor in the drivers area. There is some rust repair necessary before I can put down insulation and carpet.
|
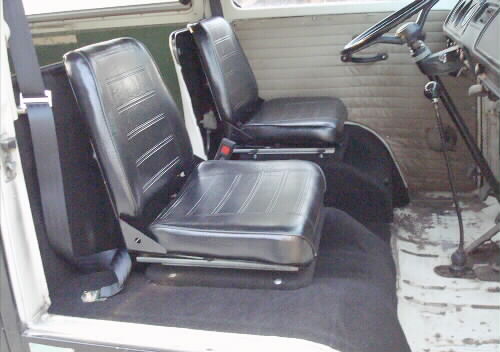
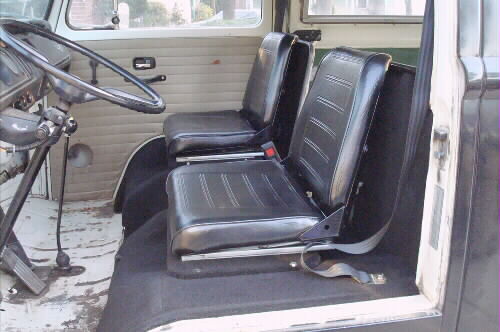 The first thing I did (after rewiring the starter button) was replace the seats and carpet the top of the wheel wells they sit on. The seats are actually tractor seats which were much less expensive than repairing or replacing the original seats.
|
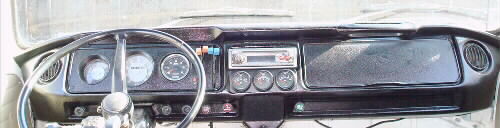 Next, I did some more rewiring, repaired gouges and cracks in the dash and mounted engine monitoring gauges.
|
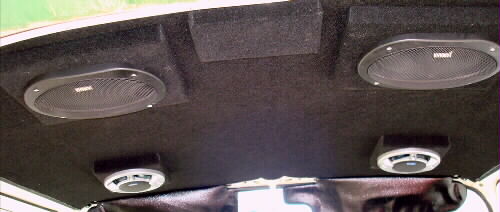
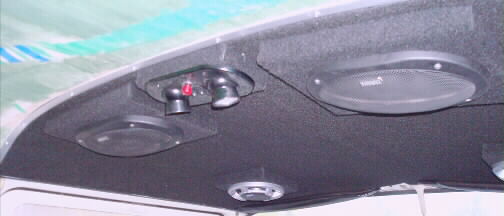
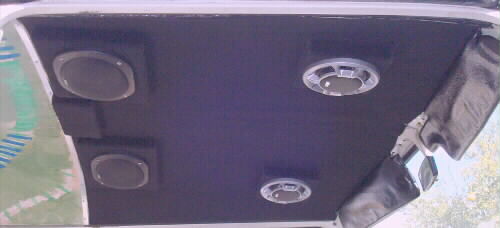 These show the new headliner with speakers and standoff for the future aircraft style dome light.
|
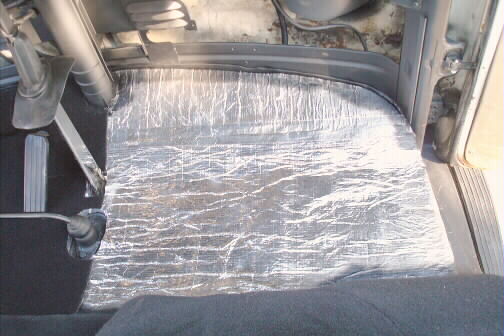
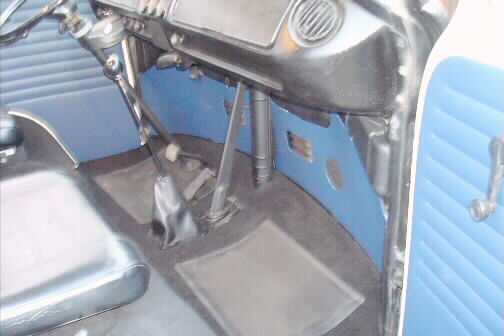
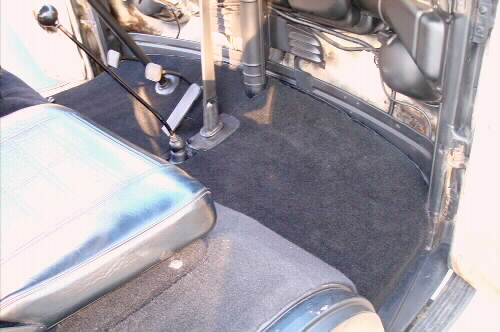 I repaired the rust area in the floor on the drivers side and finished carpeting the cab area. The first picture shows the carpet done on the driver's side and the insulation awaiting carpet on the passinger side. The second photo shows the carpet completed. I will be adding trim pieces/boots around the shifter and emergency brake. Kick panels and door panels are on order and should arrive in a week or two.
|
 The aircarft style dome light is now installed.
|
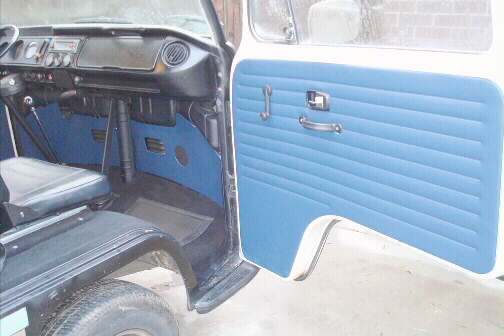 These show the nearly finished cab area with boots & trim around the shifter and E-Brake as well as the new kick and door panels.
|
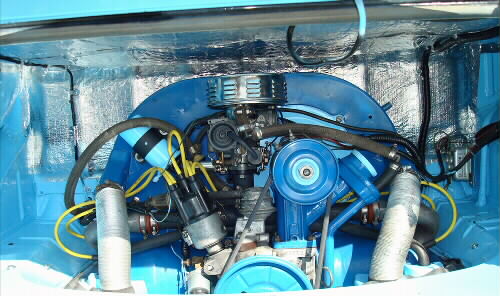
Most of the work we've (my brother and I) done as of late dealt with the Chassie - new brake components (cylinders, rotors, drums, shoes), new bearings, tie rods, etc. However, I also cleaned up the engine and the engine compartment. The above picture shows the result.
|

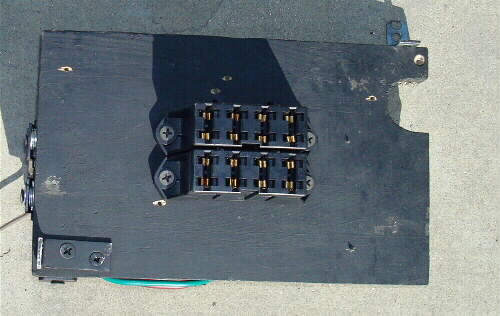 The existing fuse box is hard to access and just laying in the dash. It also uses old style fuses. I have decided to install a newer style fuse assembly in a more accessible location. Above shows the top and bottom of the fuse module prior to installation and connection under the dashboard. Note the headlight and accessory relays on the right and the turn signal flasher on the left.
|
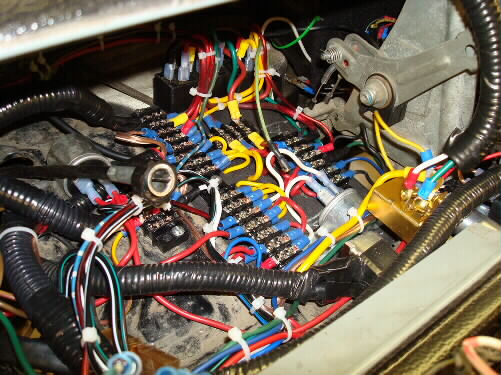
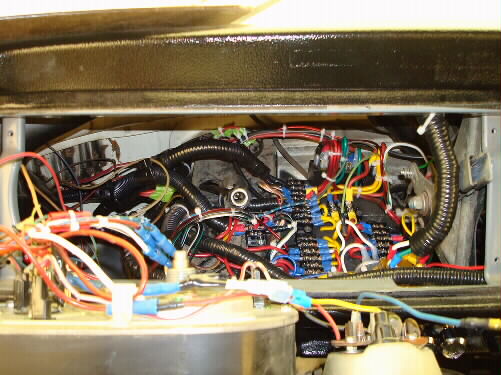
The above pictures show the rewiring of the dash just before I screwed the dash panel back on.
Below is a picture of a wiring diagram I made so I will remember what I did some years in the future.

| |
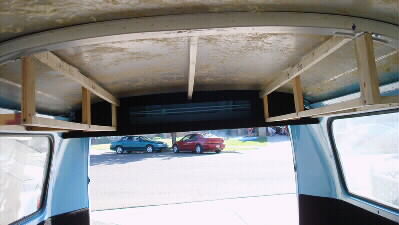
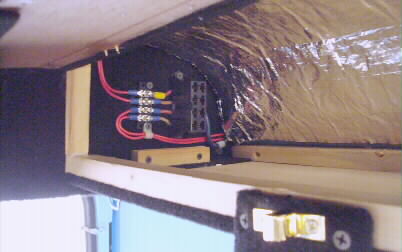
The above pictures show the cabinet framing and the fuse block in the rear of driver's side cabinet for the accessories that will run of the deep cycle RV battery.
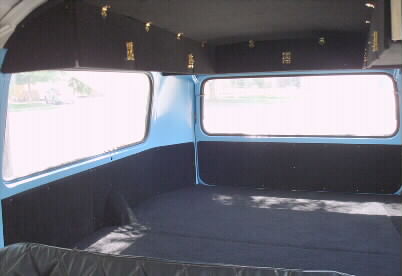
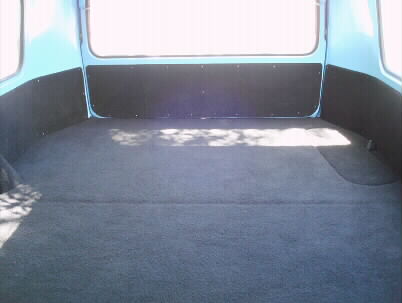
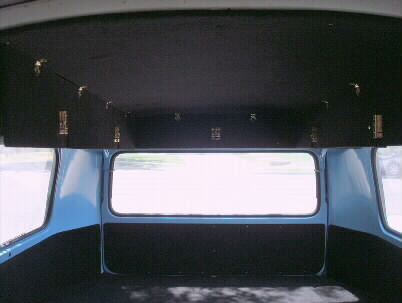
Below are various pictures of the finished interior of the rear third of the bus.

| |
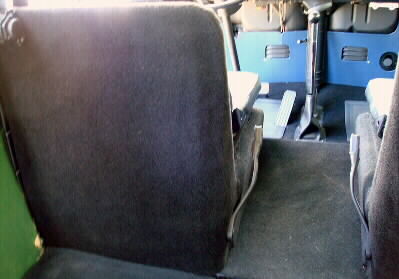
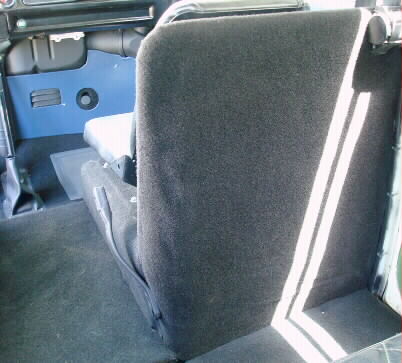
The above pictures show I carpeted the dividers between the front seats and the cargo area.
|
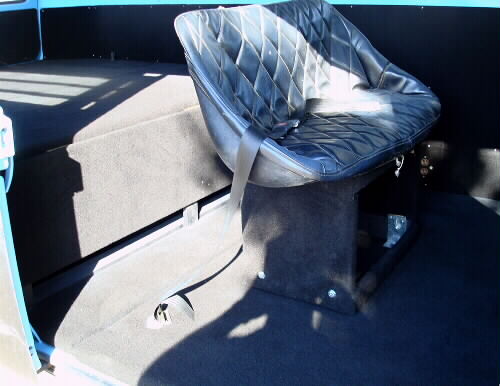
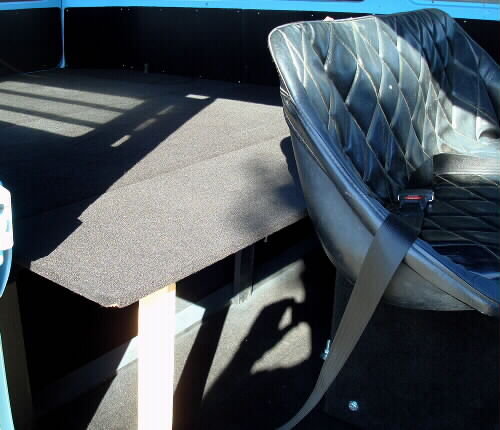
The above pictures show the middle section of the bus with the rear pedestal seat and the folding extension that provides a full double bed sized platform. Ultimately, I will construct a camping module that will interchange with the rear seat module shown.
|
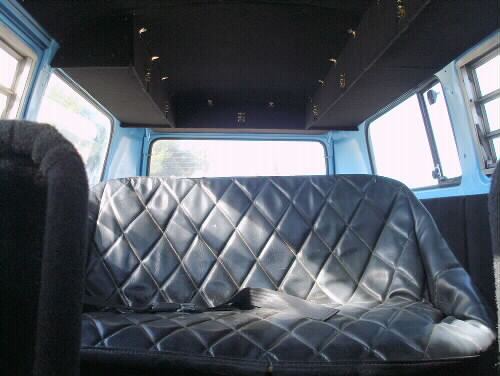
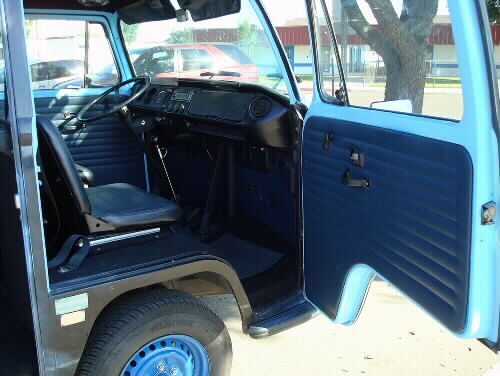
The first picture above shows the rear area as seen from the cab. You can see the rear seat and the upper cabinets. The second picture above shows the cab again after it has been repainted to match the blue that will be on at least part of the exterior.
|
This about finishes the interior, so I will start prepping the exterior for painting - when I find the time!
| Opening Page |
| Christian Education |
| Networking & the Internet |
| My Background |
| Hobbies & Interests |
| Email Me |
|

